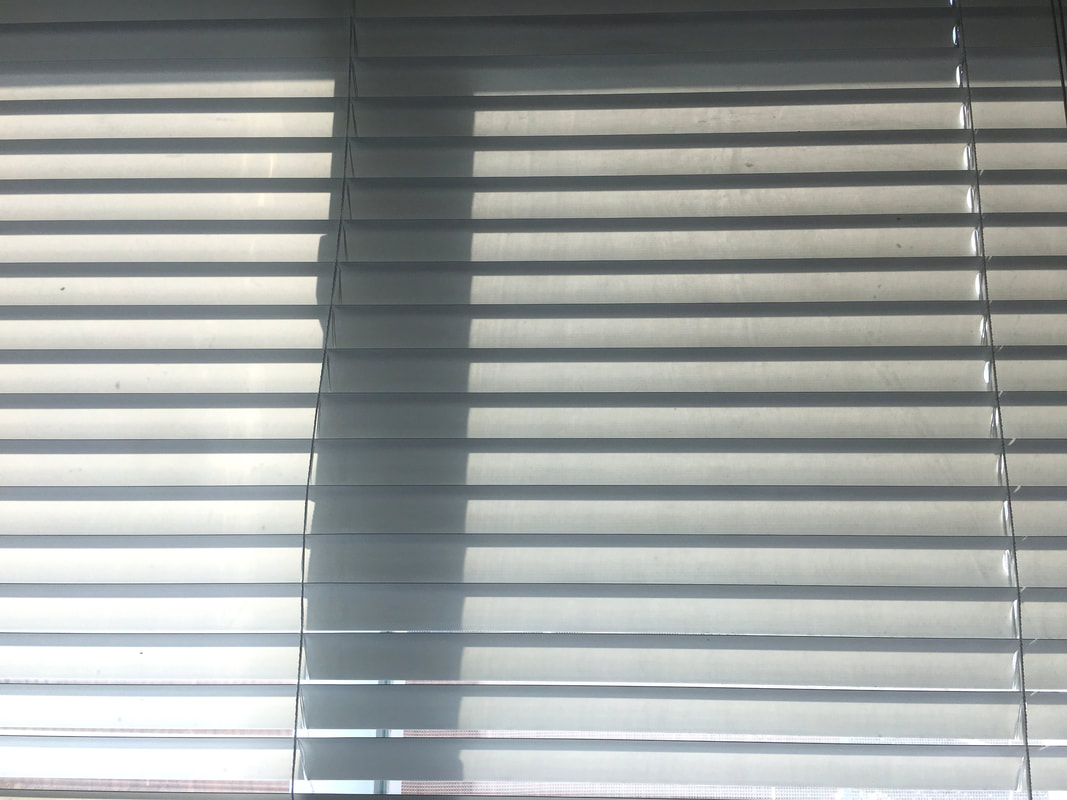
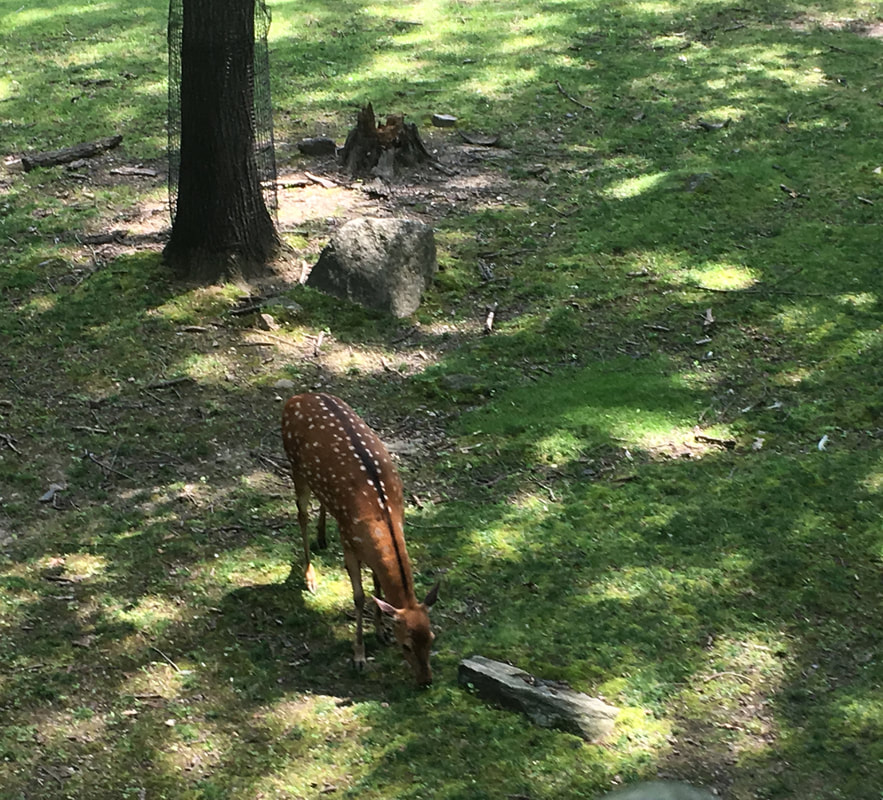
Best Photo

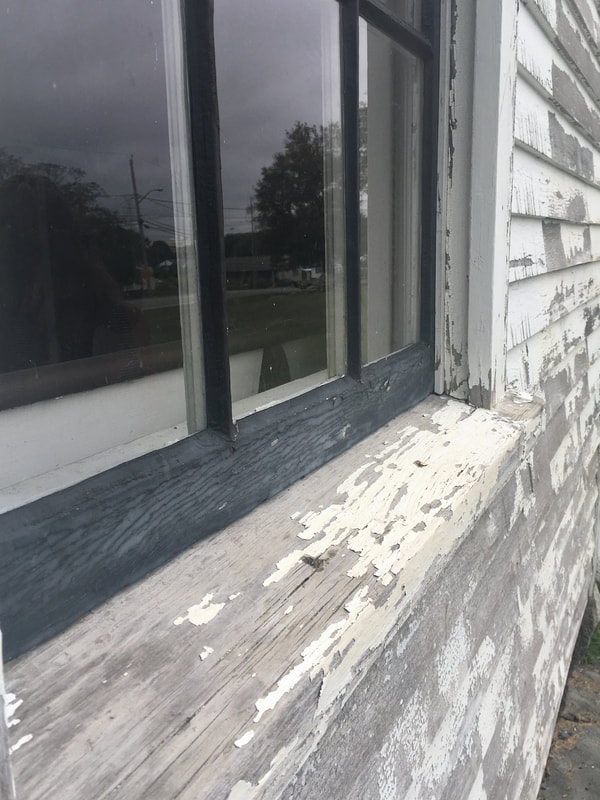
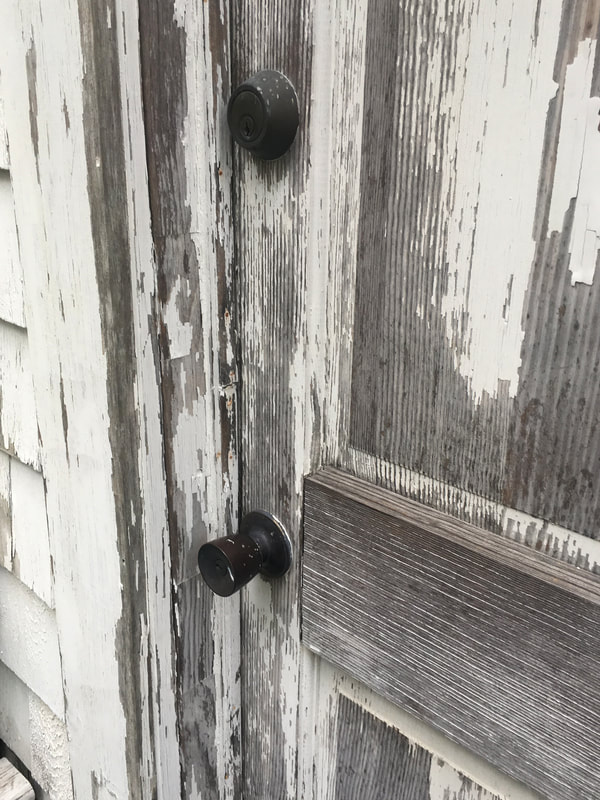
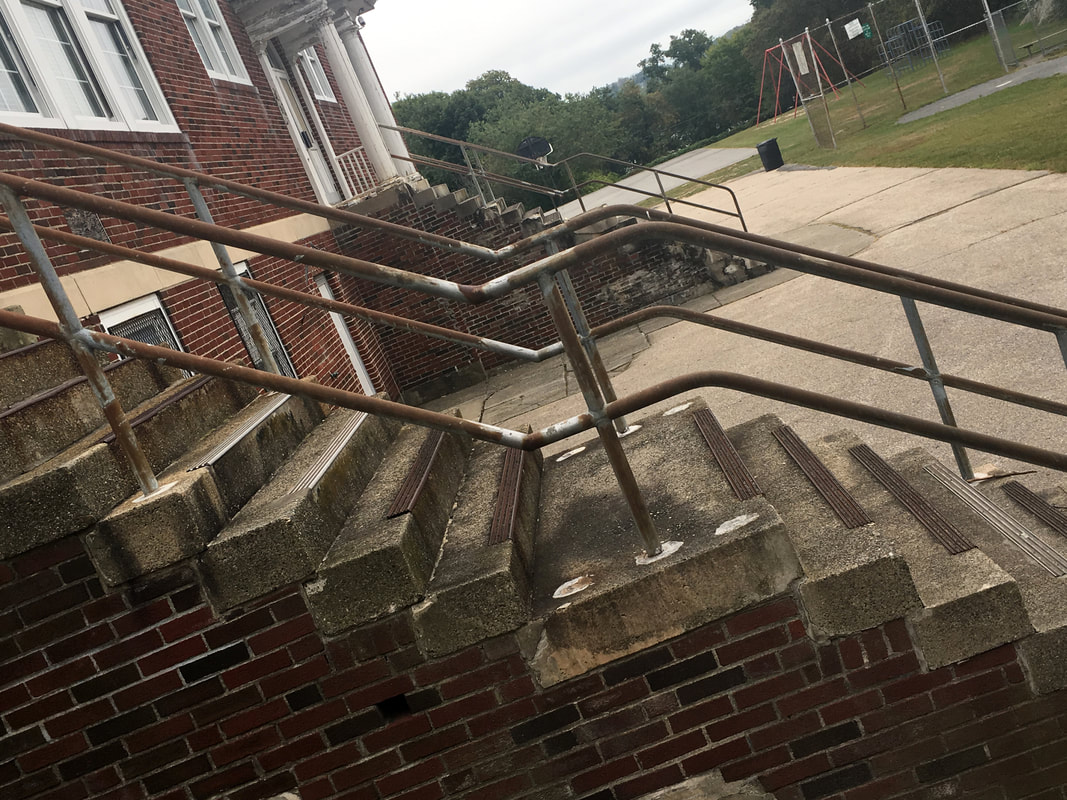
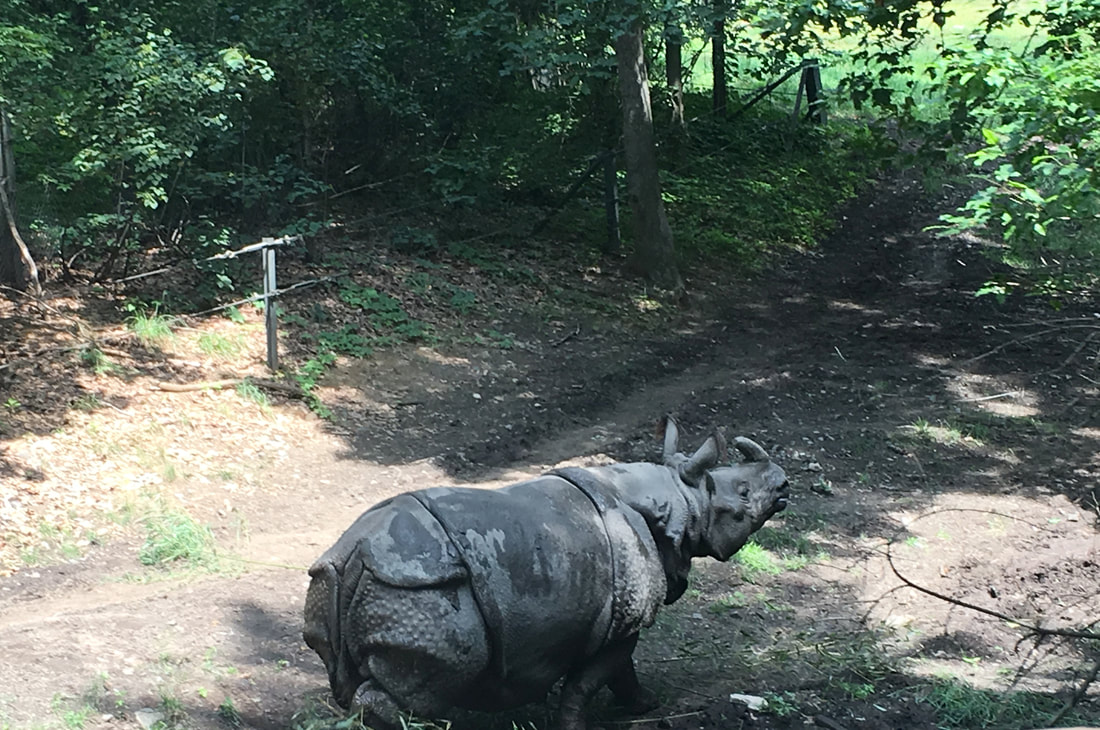
- Line, shape, texture
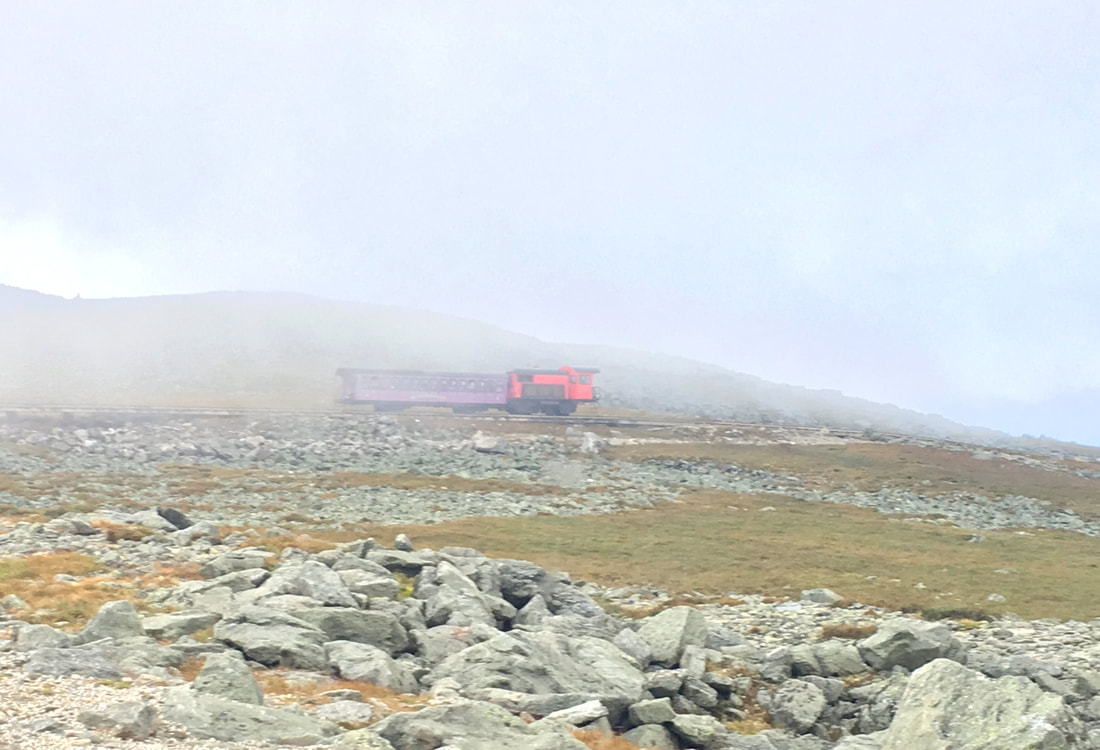
- I was speechless when I saw the view it was so beautiful.
- I would take the photo horizontally to get more of Mount Washington in the photo.
Dice
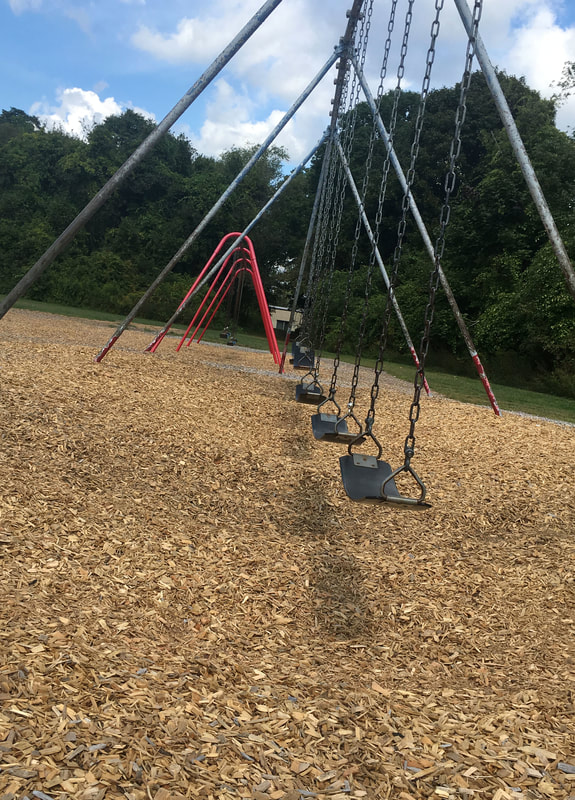


- Playground
- Outside
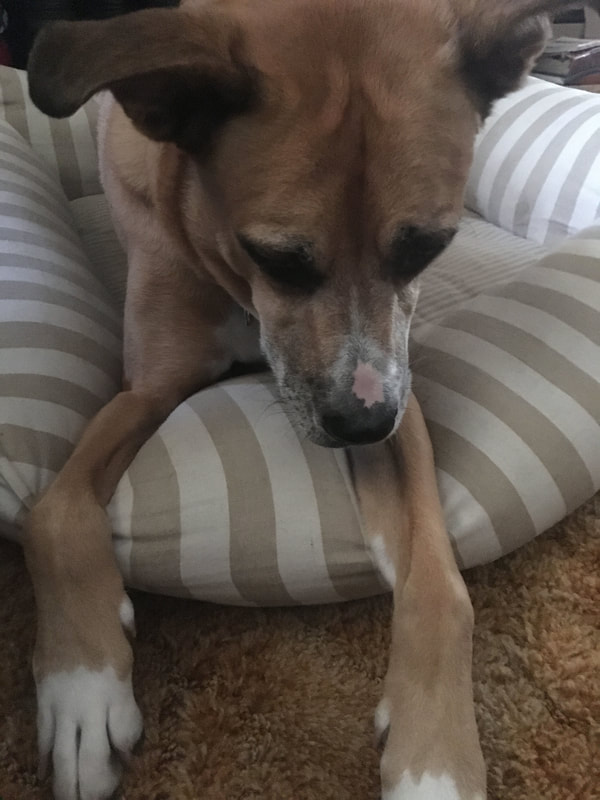
- Dog
- Dining Room
- Kitchen
- Go into the next room
Somerset

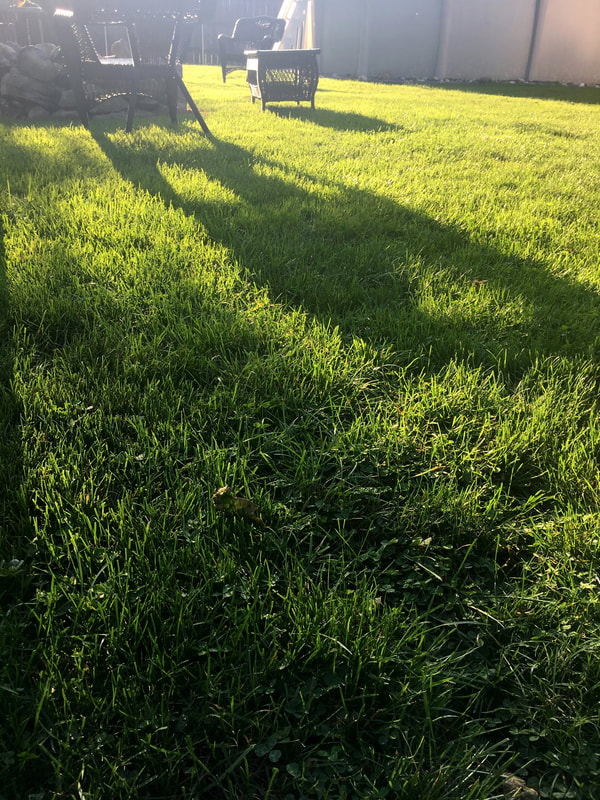
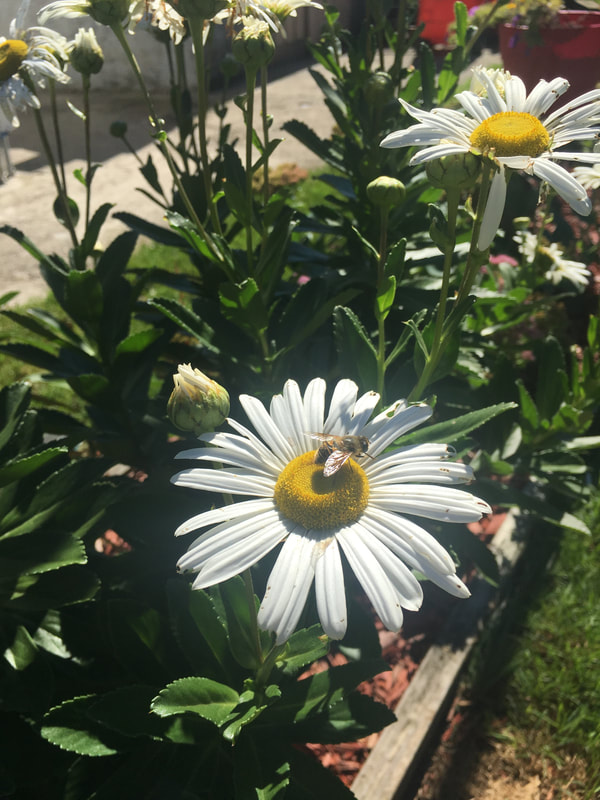
Capturing Light


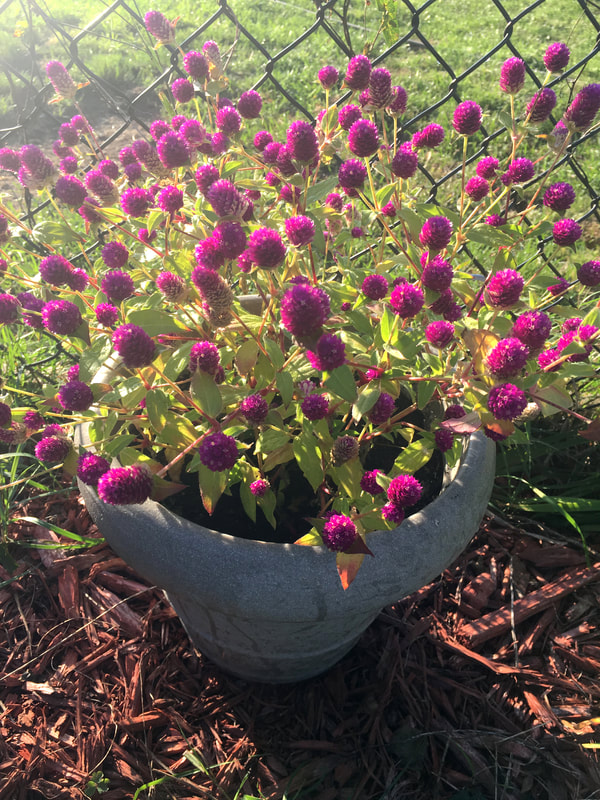
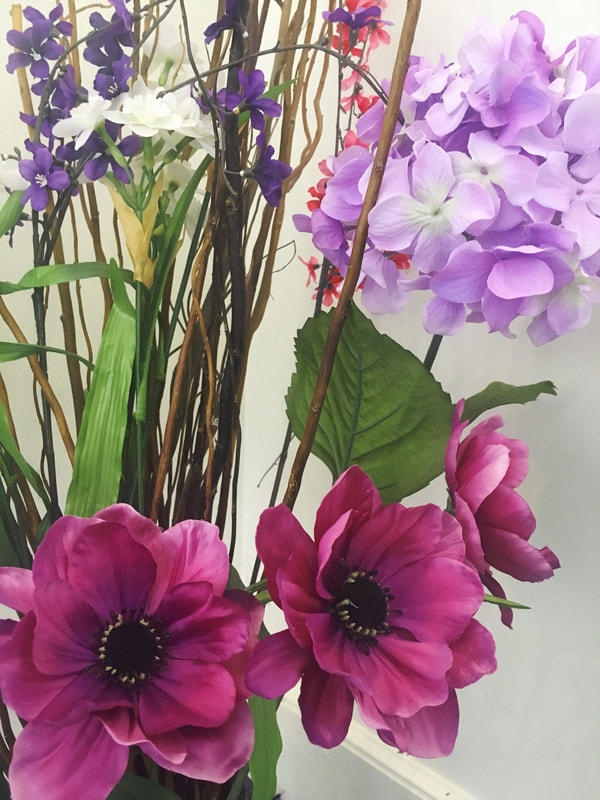
Color


Pinhole
Define Camera Obscura.
Camera means room or chamber and obscure means darkened or dark.
Explain the steps to create, expose and process a pinhole camera image:
Step 1: Get all the materials: camera box, tape, pin, and light sensitivity paper.
Step 2: Make a hole with pin in aluminum cut out tape it to the camera box hole.
Step 3: Make sure the aluminum hole is in the middle of the box hole.
Step 4: Tape it and the light sensitivity paper in the box.
Step 5: Close it and tape it closed and put the pinhole camera in a any place for three days.
How did you create a shutter and aperture on your pinhole camera body?
Create aperture by how big the hole is and shutter is the black electrical tape.
What was the focal length of the cameras?
Distance between the paper and the cover.
Where did you place your camera and what was your exposure time?
I placed my camera on a tree in-between the front and gym doors.
What was the light source for the exposure?
The sun was my light source.
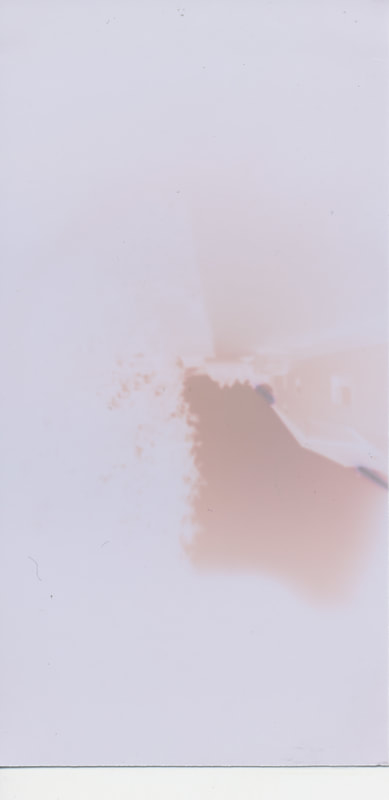
After taking down your camera and seeing the results, how did the image appear on the light sensitive paper?
It was very bright in a pinkish color and it was inverted.
Explain the steps you took to "process" your pinhole negative with the scanner and Photoshop.
Step 1: Take the paper out and put it in the scanner in the top corner.
Step 2: Put your name to save it. Hit scan and wait.
Step 3: Go to the corner and cover the picture hit tools and crop then save the picture.
Step 4: The teacher will email you the picture.
Step 5: Open it in photoshop invert and flip horizontal.
Step 6: Put the two pictures side by side and email it to teacher.
Finally, what surprised you about your results? If you could re-do the process, what would you do differently to change your results?
When I opened the camera box I couldn't tell what was at the bottom. It was kinda fun to figure it out. I would change where I put the camera just to see if I would get different light or people in it.
Camera means room or chamber and obscure means darkened or dark.
Explain the steps to create, expose and process a pinhole camera image:
Step 1: Get all the materials: camera box, tape, pin, and light sensitivity paper.
Step 2: Make a hole with pin in aluminum cut out tape it to the camera box hole.
Step 3: Make sure the aluminum hole is in the middle of the box hole.
Step 4: Tape it and the light sensitivity paper in the box.
Step 5: Close it and tape it closed and put the pinhole camera in a any place for three days.
How did you create a shutter and aperture on your pinhole camera body?
Create aperture by how big the hole is and shutter is the black electrical tape.
What was the focal length of the cameras?
Distance between the paper and the cover.
Where did you place your camera and what was your exposure time?
I placed my camera on a tree in-between the front and gym doors.
What was the light source for the exposure?
The sun was my light source.
After taking down your camera and seeing the results, how did the image appear on the light sensitive paper?
It was very bright in a pinkish color and it was inverted.
Explain the steps you took to "process" your pinhole negative with the scanner and Photoshop.
Step 1: Take the paper out and put it in the scanner in the top corner.
Step 2: Put your name to save it. Hit scan and wait.
Step 3: Go to the corner and cover the picture hit tools and crop then save the picture.
Step 4: The teacher will email you the picture.
Step 5: Open it in photoshop invert and flip horizontal.
Step 6: Put the two pictures side by side and email it to teacher.
Finally, what surprised you about your results? If you could re-do the process, what would you do differently to change your results?
When I opened the camera box I couldn't tell what was at the bottom. It was kinda fun to figure it out. I would change where I put the camera just to see if I would get different light or people in it.
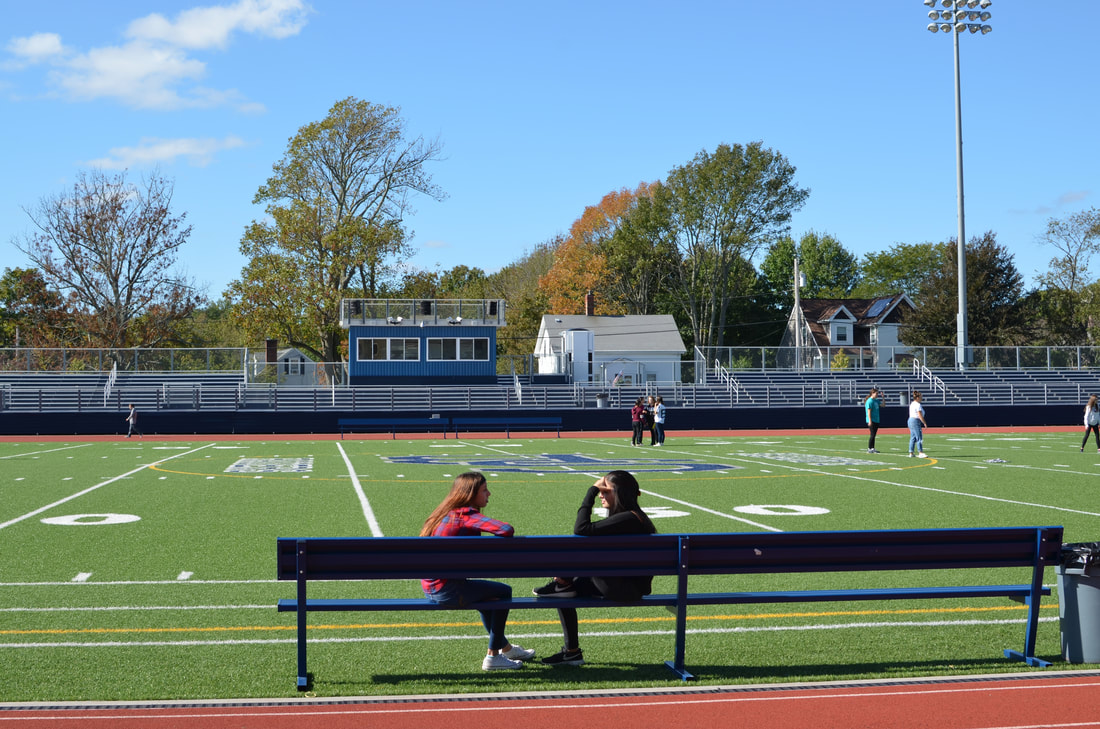
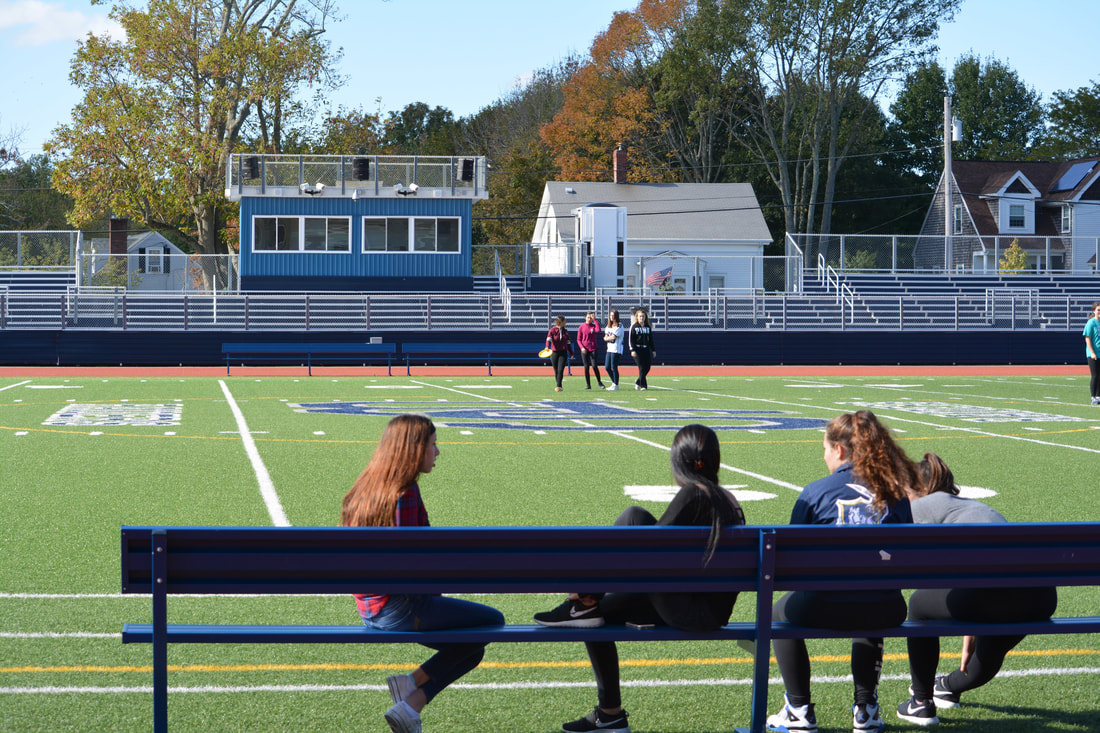
Lens Lab
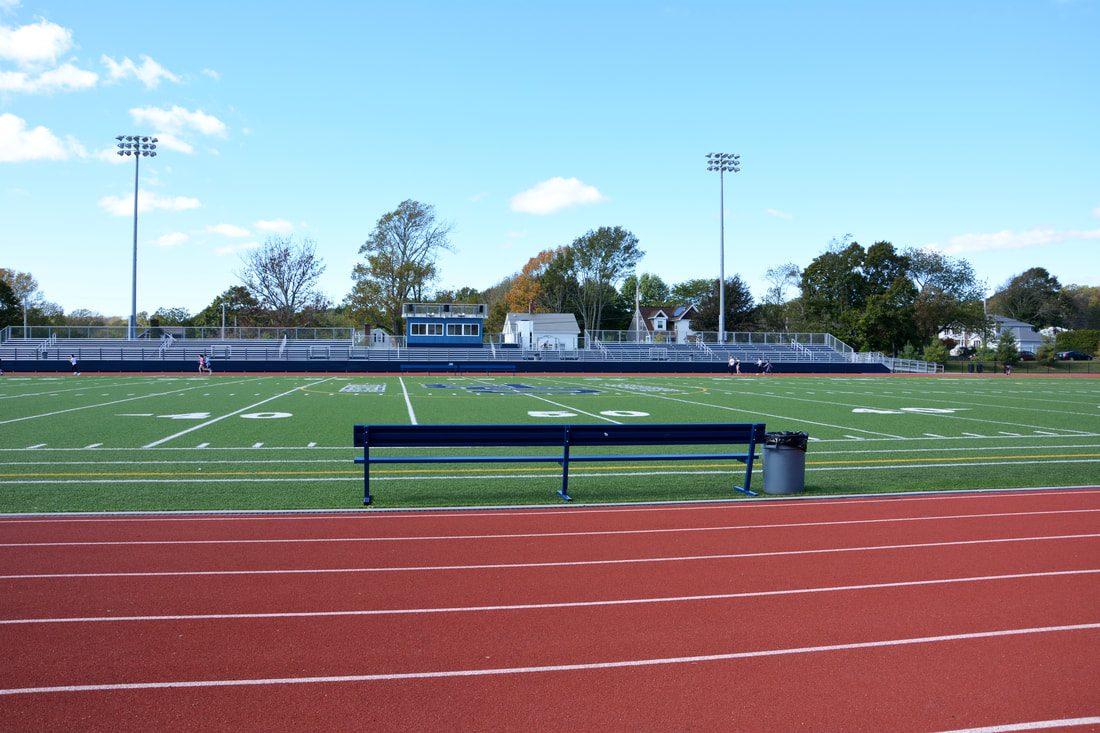
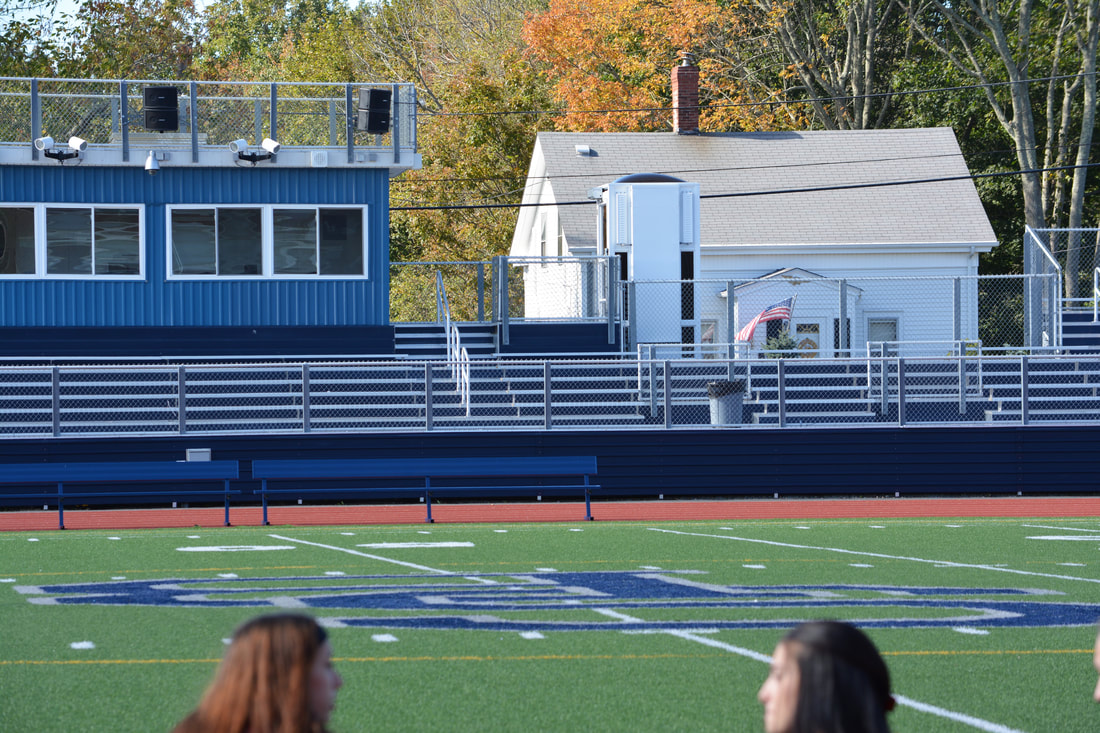
Prime Lenses
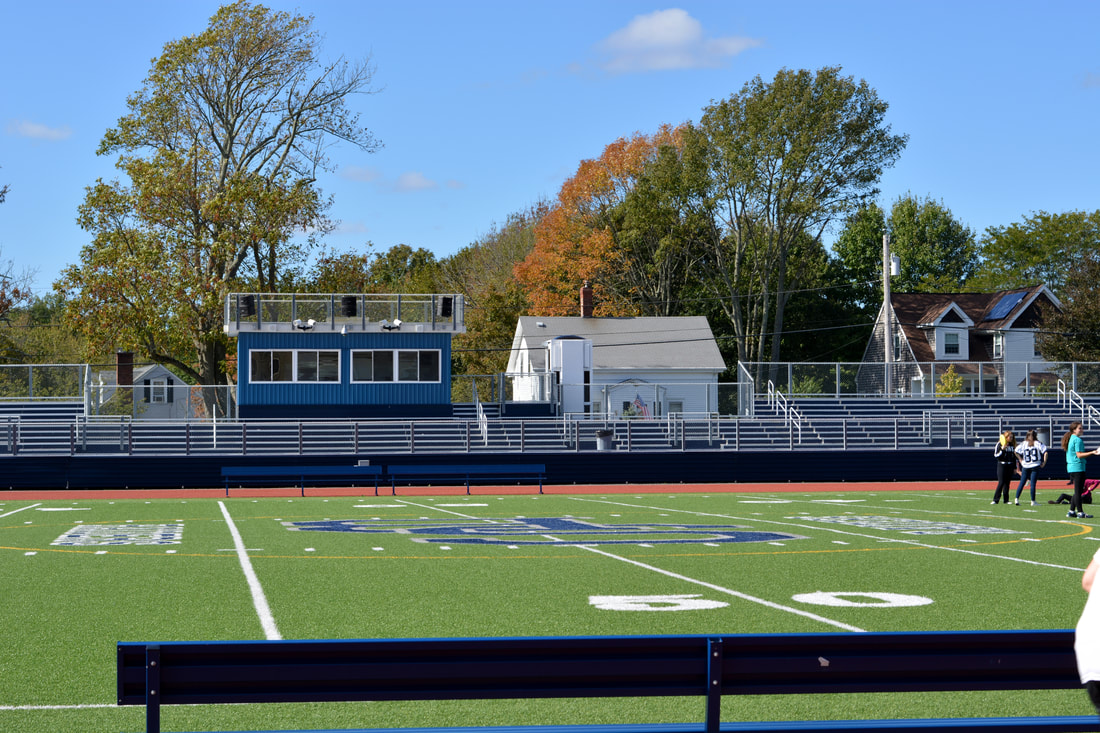

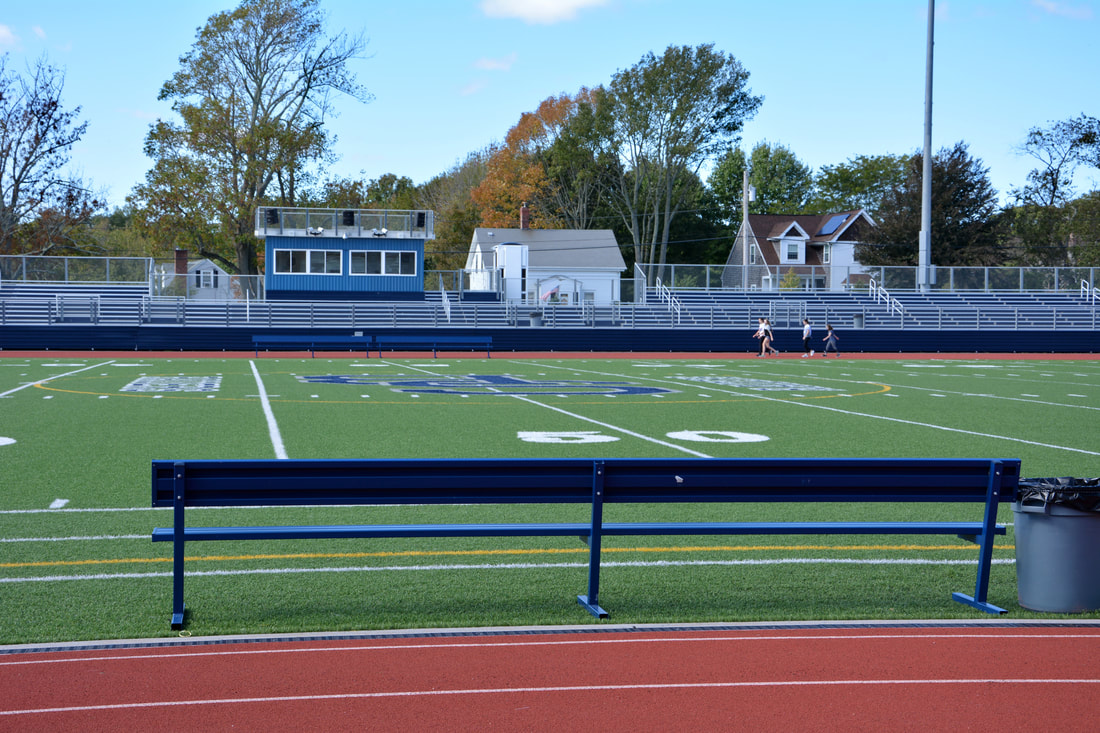
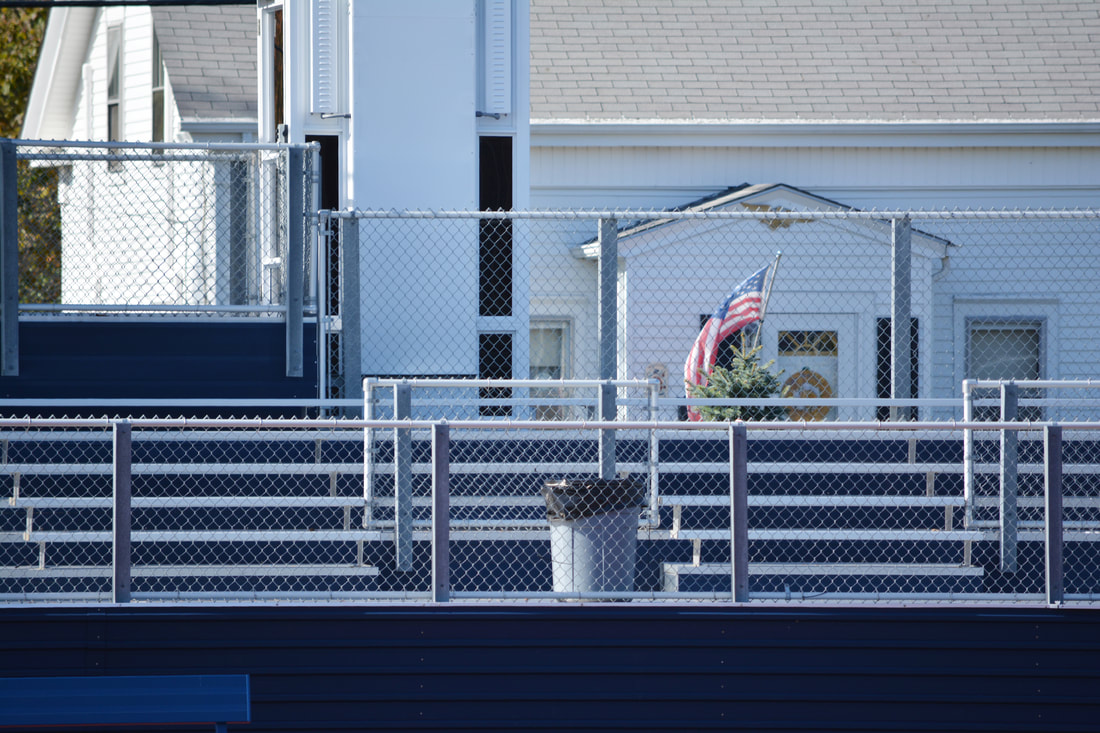
Zoom Lens 18 - 105mm
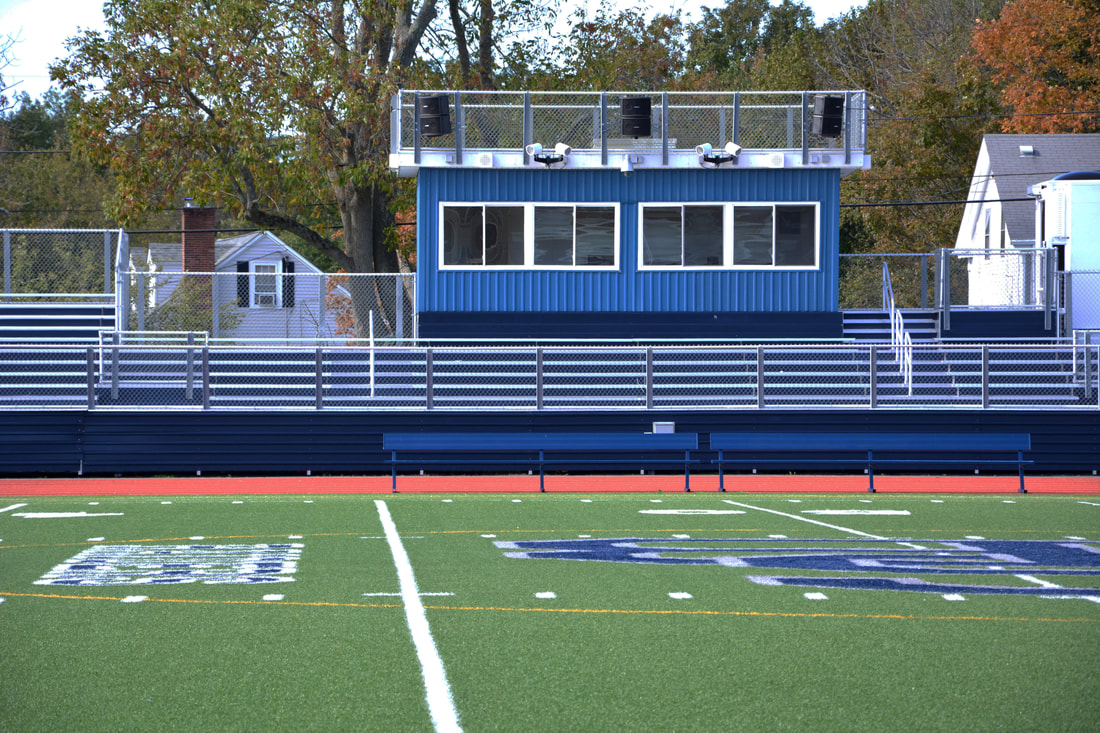
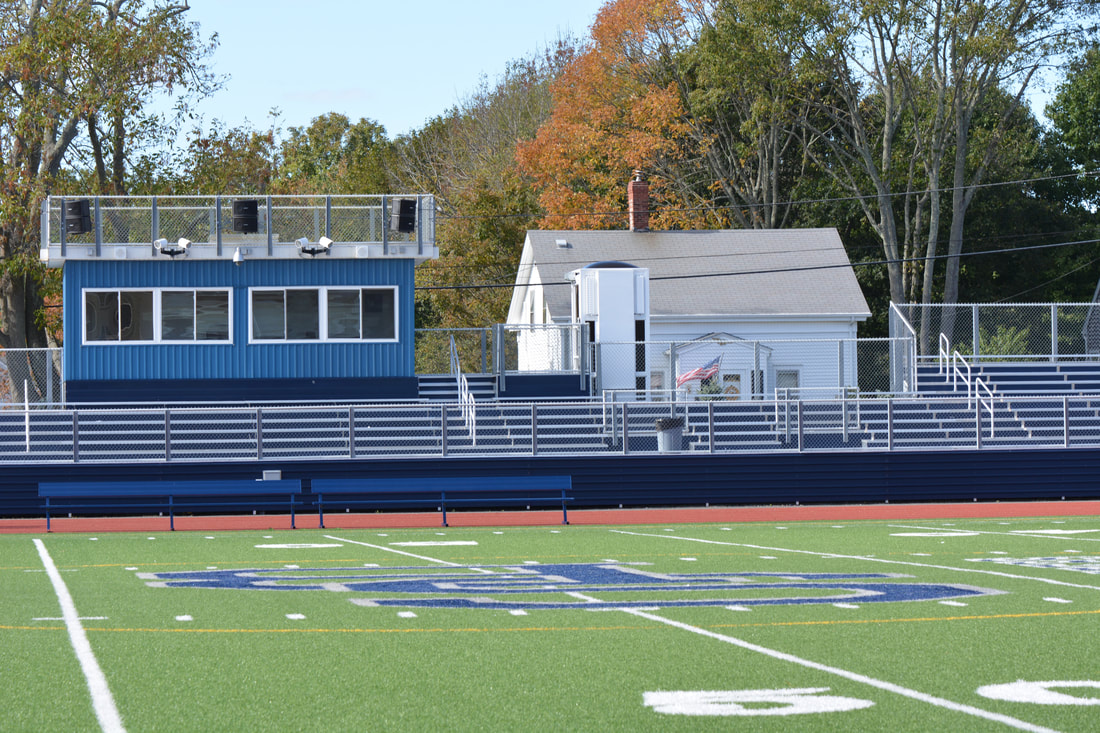
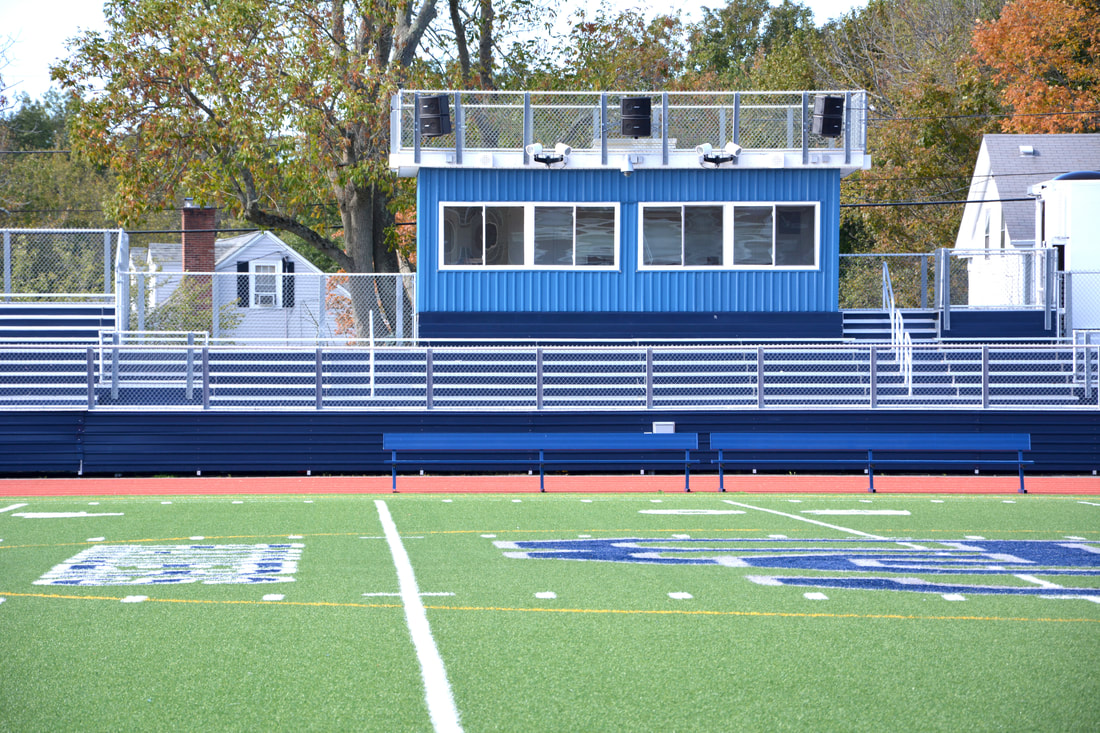
Zoom Lens 55 - 300mm
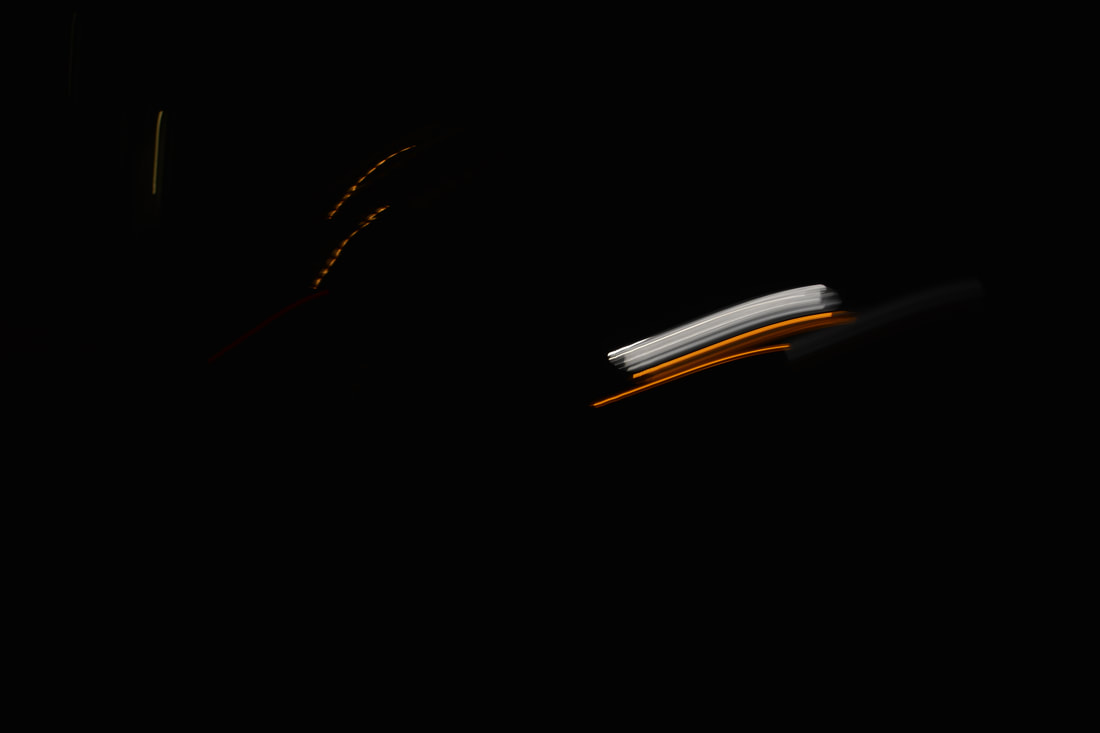
Night
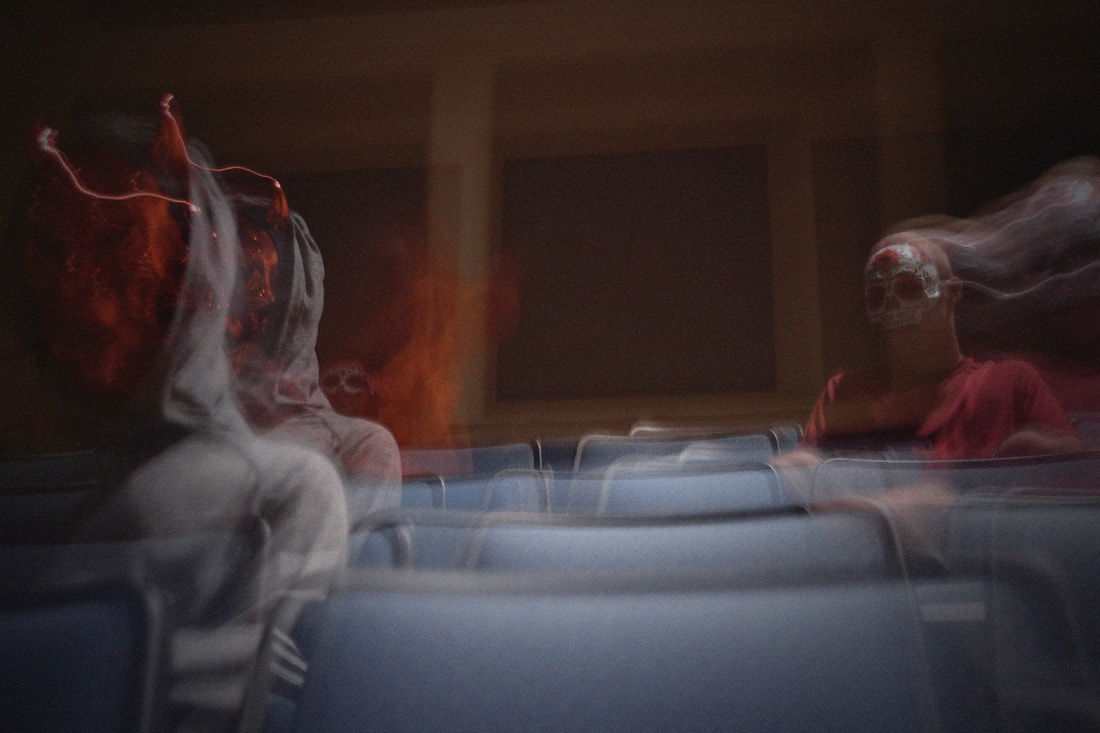
Spooky

Levitate
Pinhole

Define Camera Obscura.
Camera means room or chamber and obscure means darkened or dark.
Explain the steps to create, expose and process a pinhole camera image:
Step 1: Get all the materials: camera box, tape, pin, and light sensitivity paper.
Step 2: Make a hole with pin in aluminum cut out tape it to the camera box hole.
Step 3: Make sure the aluminum hole is in the middle of the box hole.
Step 4: Tape it and the light sensitivity paper in the box.
Step 5: Close it and tape it closed and put the pinhole camera in a any place for three days.
How did you create a shutter and aperture on your pinhole camera body?
Create aperture by how big the hole is and shutter is the black electrical tape.
What was the focal length of the cameras?
Distance between the paper and the cover.
Where did you place your camera and what was your exposure time?
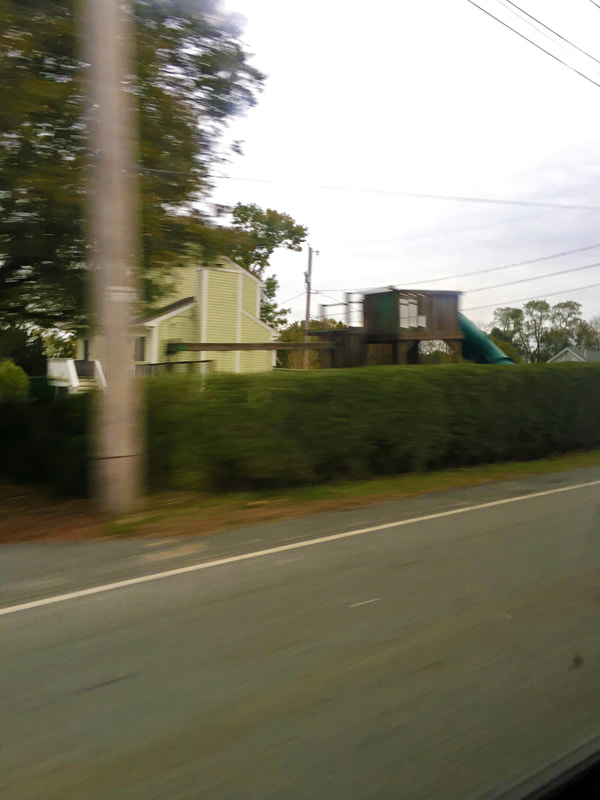
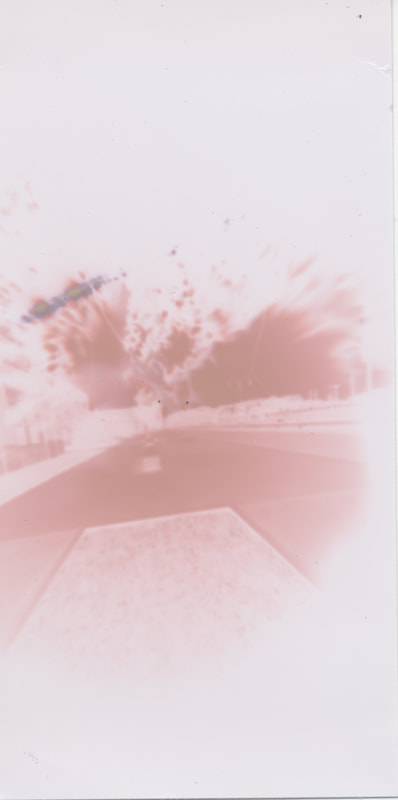
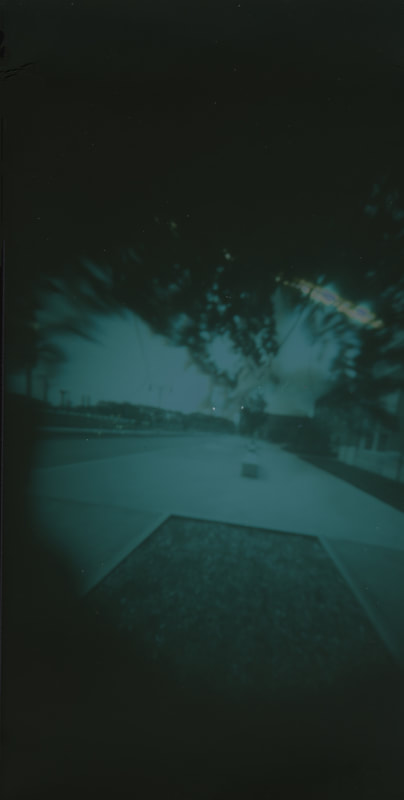
I placed my camera on a pole at the top of my driveway.
What was the light source for the exposure?
The sun was my light source.
After taking down your camera and seeing the results, how did the image appear on the light sensitive paper?
It was very bright in a pinkish color and it was inverted. After I inverted it changed to a green blue tint.
Explain the steps you took to "process" your pinhole negative with the scanner and Photoshop.
Step 1: Take the paper out and put it in the scanner in the top corner.
Step 2: Put your name to save it. Hit scan and wait.
Step 3: Go to the corner and cover the picture hit tools and crop then save the picture.
Step 4: The teacher will email you the picture.
Step 5: Open it in photoshop invert and flip horizontal.
Step 6: Put the pictures on weekly and email to the teacher.
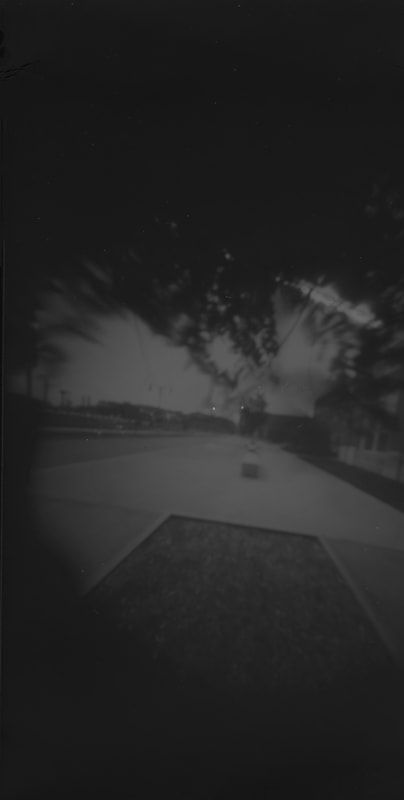
Finally, what surprised you about your results? If you could re-do the process, what would you do differently to change your results?
It was darker than my first pinhole which was surprising. If I could change one thing I would have wanted to put my pinhole up earlier so more sunlight would show in the picture.
Camera means room or chamber and obscure means darkened or dark.
Explain the steps to create, expose and process a pinhole camera image:
Step 1: Get all the materials: camera box, tape, pin, and light sensitivity paper.
Step 2: Make a hole with pin in aluminum cut out tape it to the camera box hole.
Step 3: Make sure the aluminum hole is in the middle of the box hole.
Step 4: Tape it and the light sensitivity paper in the box.
Step 5: Close it and tape it closed and put the pinhole camera in a any place for three days.
How did you create a shutter and aperture on your pinhole camera body?
Create aperture by how big the hole is and shutter is the black electrical tape.
What was the focal length of the cameras?
Distance between the paper and the cover.
Where did you place your camera and what was your exposure time?
I placed my camera on a pole at the top of my driveway.
What was the light source for the exposure?
The sun was my light source.
After taking down your camera and seeing the results, how did the image appear on the light sensitive paper?
It was very bright in a pinkish color and it was inverted. After I inverted it changed to a green blue tint.
Explain the steps you took to "process" your pinhole negative with the scanner and Photoshop.
Step 1: Take the paper out and put it in the scanner in the top corner.
Step 2: Put your name to save it. Hit scan and wait.
Step 3: Go to the corner and cover the picture hit tools and crop then save the picture.
Step 4: The teacher will email you the picture.
Step 5: Open it in photoshop invert and flip horizontal.
Step 6: Put the pictures on weekly and email to the teacher.
Finally, what surprised you about your results? If you could re-do the process, what would you do differently to change your results?
It was darker than my first pinhole which was surprising. If I could change one thing I would have wanted to put my pinhole up earlier so more sunlight would show in the picture.